DIY Painted Terra Cotta Pot

diy terra cotta pot

Heyyo! Bubblebunny05 here. Today I am going to show you how to make a really easy painted Terra Cotta pot like the ones you see on tumblr and Pinterest. So without me rambling anymore, Let’s get started!


Supplies needed are:

diy terra cotta pot 2

  • a terra cotta pot of any size
  • some paint [ I used acrylic paint]
  • foam brushes
  • a stamp or picture of your choice


Steps:

diy terra cotta pot 3

First, paint your terra cotta with any color you would like. [ This would be the base coat] You may need to paint it a few times for it to be a solid color. I painted it three times. [ Don’t forget to let it dry in between coats!]


diy terra cotta pot 4

Lastly, paint, draw, stick or stamp the picture onto your terra cotta pot. For this I just cut out a triangle from a scrap piece of melamine foam and stamped on some triangles. [You can get some inspiration from pinterest or tumblr] And you’re done! Easy isn’t it? You could make many designs with these pots and they are also great for storage or decor too. I used mine to store my watercolor tubes.


That’s all for this post, have fun crafting!

-bubblebunny05

EASY Rainbow Unicorn Poop Cereal Bars! l with vanillarainbow

Rainbow unicorn poop cereal bars 2

Hello guys! Welcome back to my blog, Pastel Doodles. Hope you had a wonderful week. Spring Break is almost coming and I have loads of ideas for interesting blog posts coming up so be sure to stay tuned for that. Apart from that this is a collab with my friend vanillarainbow from  Really Vanilla. She will be posting the bloopers of this post. Without wasting anymore time, let’s get started! 🙂


First, you want to make sure you have all the ingredients before you start making these super-delicious cereal bars or else you will end up with real unicorn poop! XD

Rainbow unicorn poop cereal bars 3

Ingredients:

Cereal of your choice

Marshmallows

Sprinkles

Butter


Steps:

Rainbow unicorn poop cereal bars 5

1.  Start by melting a bag of marshmallows on low heat. To prevent it from burning and sticking to the pot, you might want to add in some butter too. Not too much though or it won’t taste nice. (Amount depends on how much marshmallows you use) Tip: Don’t let the marshmallows or butter burn or else it would not taste good.


Rainbow unicorn poop cereal bars 6

2. After melting the marshmallows, transfer them into a mixing bowl. This part may be a bit sticky as the marshmallows are super-duper sticky. Then, add in the cereal of your choice. For this I chose fruit loops. (Amount varies from the amount of marshmallows you melted or how sticky you want your cereal bars to be)


Rainbow unicorn poop cereal bars 7

3. Now is the fun part. SPRINKLES!!! Vanillarainbow and I basically dumped in a bunch of sprinkles we bought from the store. (Lesson learned: Do not put in chocolate chips or they will melt and your cereal bars will look like a disaster. Do not put too much sprinkles in your cereal bars. They may look nice but they don’t taste nice)


Rainbow unicorn poop cereal bars4. Lastly, you want to roll them up into tiny balls and let them chill in the fridge. after that, take them out and drizzle some melted chocolate on top and it is ready to be served. You can skip the chocolate part too and put them in cute baggies as goodie bags for your party.  [ You can make the chocolate sauce with some chocolate and milk. Put them in the microwave for about 30 seconds and you should have a nice creamy consistency]


That’s all for this post. Hope you liked it and enjoyed the cereal bars. Don’t forget to check out vanillaranibow’s post right here!


Easy No Bake Oreo Cheesecake!

No bake oreo cheesecake

Hey guys! Bubblebunny05 here. I was browsing through pinterest and found this awesome recipe for a simple no bake oreo cheesecake and I just had to try it out. Since it was mostly made out of whipped cream and cream cheese, the texture was sort of mousse like. Of course I just had to share this recipe with you guys! So without babbling anymore, let’s get started!


No bake oreo cheesecake 2

Ingredients you will need are:

6 oreos

200ml of whipping cream

250g of cream cheese

1tbs of butter

3tbs of icing sugar

1tbs of vanilla essence

1tsp of lemon juice

(Serves 2)


Directions:

No bake oreo cheesecake 3

First of, you would want to mash up 6 oreos,or more! Depending on how much oreos you want.(I used 7)


No bake oreo cheesecake 4

Next, melt some butter on low heat and mix it into the oreos.


No bake oreo cheesecake 5

After that, scoop the oreos into shot glasses or a small pan and set aside for later. ( You can put the oreos in the fridge too)


No bake oreo cheesecake 6

Next up, pour the whipping cream into a large bowl and beat it until it’s light and fluffy.


No bake oreo cheesecake 7

No bake oreo cheesecake 8

Then, beat the cream cheese, vanilla essence and icing sugar together in a bowl until it is thick and creamy.


No bake oreo cheesecake 9

After that, you would want to fold in the cheese mixture and lemon juice into the whipped cream until it is all mixed well.


No bake oreo cheesecake 10

Lastly, scoop the mixture into your shot glasses and it is ready to be served! You can also cut up some strawberries or raspberries to put on top or, if you have some leftover crushed oreos, you could sprinkle that on top too! (Best served when chilled) 🙂


Well, look’s like we’ve come to the end of this post. I hope you liked this post AND enjoyed your cheesecake! Tell me in the comment section down below what you think about it.


Happy eating! 🙂

bubblebunny05

bubblebunny05


DIY Pom Pom Garland

DIY Pom pom garland

Hey guys! Bubblebunny05 here. November is almost up. So it means that December is coming. Yay!!! I love the holiday season. Exchanging gifts………singing carols………having dinner with family………christmas shopping. There are tons of things you can do. Let me know in the comments on what you guys would like me to post for the holiday season.

Anyways, back to the point. Today we are going to make some bright colorful pom poms! I just love pom poms they are just so cute and fluffy. (Pink fluffy unicorns dancing on rainbows! XD) Hahaha, I just love to sing that song. I like unicorns. Tell me in the comments section down below if you love them too.  I hope I’m not the only one………………………………


Let’s get started!

The supplies needed are:

DIY Pom pom garland2


Now that you have all your supplies, You should know what size of pom poms you would like to have. I made the bigger ones.

DIY Pom pom garland3

Three fingers make smaller pom poms while four fingers make bigger pom poms. The bigger your hand is, the bigger your pom poms are going to be. My hands are quite small so the pom poms were a bit smaller. You could also use a fork too if you like.


DIY Pom pom garland5

First, get your wool (any color) and wrap it around your hands 100 times or more. (The more you wrap, the fluffier it gets) I know this part may be a bit painful but it will only last for a short while. But if you really cannot cope with it, use a fork.


DIY Pom pom garland6

After you have finished wrapping your hands for the desired fluffiness of your pom pom, cut the remaining wool.


DIY Pom pom garland7

DIY Pom pom garland8

Then, cut a piece of wool about this length and wrap it around your pom pom to secure it.


DIY Pom pom garland9

Next, cut open the wool. I know your pom pom looks really ugly at this point. But just wait, you’re not done yet.


DIY Pom pom garland10

Give your pom pom a cute hair cut and Bam! Your pom pom looks amazing. Make sure to clean up the mess though. Or else you will have short pieces of wool flying everywhere. Repeat these steps several times until you have enough pom poms to hang up for your garland.


DIY Pom pom garland12

After you have enough pom poms to hang, Get a big needle and string the wool through it.


DIY Pom pom garland14

Then you would want to string all of your pom poms on. Make sure you measure out the amount of wool needed or you’ll have to do it all over again.


DIY Pom pom garland13

Now you are finished with your DIY Pom pom garland. Hang it up on your wall and it will make your room look more colorful and fun in an instance. You could also make pom pom flowers too. Just glue them on a twig. There are a lot of things you can do with pom poms so have fun experimenting.


Stay creative and have a great week ahead!

bubblebunny05

bubblebunny05


DIY Needle-felt Popsicle

needle-felt PopsicleHey Guys! Bubblebunny05 here.

Today we are going to be making this cute needle-felt popsicle/ ice lolly. Whatever you wanna call it.


The supplies needed are:

needle-felt Popsicle2

needle-felt popsicle19


Let’s get started.

needle-felt popsicle17First, get your melamine foam and trace the template on it. Then you want to cut the shape out with a paper cutter. Melamine foam is easy to cut so you won’t have any problems doing that.


needle-felt Popsicle3

needle-felt Popsicle4Next, you would want to cut a slit at the bottom of your foam and stick a piece of rolled up paper in it. This will prevent you from felting the hole as we are gonna put an ice cream stick in it.


needle-felt Popsicle6Then you’ll want to wrap your melamine foam up with the color felt of your choice. For this I chose purple.


needle-felt Popsicle7Now is the fun part. We’re gonna start felting now. Yay!!! I normally felt the part where you felt meets each other so that it will stay in place. But you can start anywhere else. It’s up to you. I just like to do it this way.


needle-felt popsicle18Make sure you  DO NOT bend your needle when it is in the felt/ melamine foam as this will cause your little needle to break. Felting needles are extremely delicate so take good care of it! 🙂


needle-felt Popsicle8

After you finish felting, your creation should look something like this. You MUST remember that needle-felting requires lots of patience. So it is a great hobby to take up if you want to be a more patient person. Plus the creations you can do are endless. (and they’re cute too!) and yes, I have an obsession with cute stuff too. Hahaha. Comment down below if you do too!


needle-felt Popsicle9

Now you want to felt two small balls for the ears. You can skip this part if you don’t want it to have ears. All you need to do is get a small piece of felt and roll it into a ball. Then roll the ball slowly as you felt.


needle-felt Popsicle11

needle-felt Popsicle10To attach the ears to your popsicle, just get a really tiny piece of wool and felt the ears in place. (Sorry if you don’t get what I mean. I’m not very good at explaining things. You can just look at the picture.)


needle-felt Popsicle12

After you’re done, Your creation should look like this.


needle-felt Popsicle13

Next you want to make two holes with your needle (carefully) for the eyes.


needle-felt Popsicle14

Add some glue to the end of the eyes and stick it into your creation. You can always use felt to make the eyes too. That’s what I did last time before I bought a pack of eyes. (That sounds a bit creepy though “bought a pack of eyes”) Don’t get scared! I bought plastic eyes for crafts. They’re not real. 🙂


needle-felt Popsicle15

Now you want to get an extremely tiny piece of wool. Don’t underestimate the amount of wool needed for the details. Lot’s of beginners make this mistake. You actually only need a very tiny amount of it.


needle-felt Popsicle16

After that, felt your mouth into place and you’re done! Isn’t it like the CUTEST thing ever. Oh yeah, I forgot. Don’t forget to get the piece of paper out. Then you want to cut an ice cream stick in half and stick it in with some glue. Now you’re done! (I didn’t put the ice cream stick because I didn’t have any. 😦 )

This creation was inspired by the wonderful and amazing felt artist Chiku Chiku. 🙂


You can buy the supplies needed here:

Melamine foam

Felting mat

Felting needle

Lilac wool felt

Purple wool felt

Black wool felt

Plastic eyes


I hope you love this DIY. More AWESOME DIYs coming soon! Comment down below other DIYs you want me to do.


Have a great week ahead!

bubblebunny05

bubblebunny05


DIY Last Minute Halloween Costume Ideas

halloween 2015 5

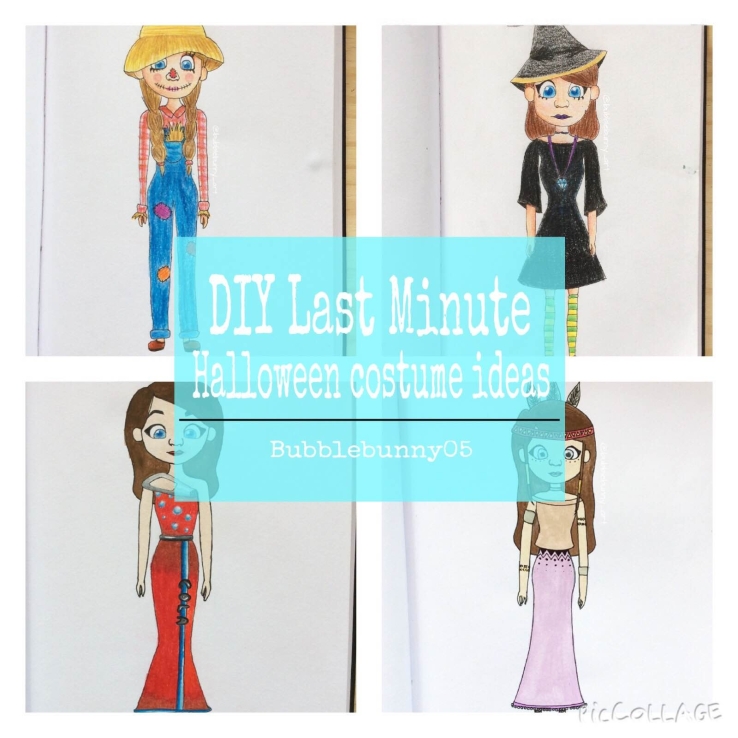
Hey guys! Happy Halloween!

If you are like me and think about what you’re gonna be for halloween at the last minute then this post will definitely help you out.


#1 Halloween costume ideahalloween 2015 4

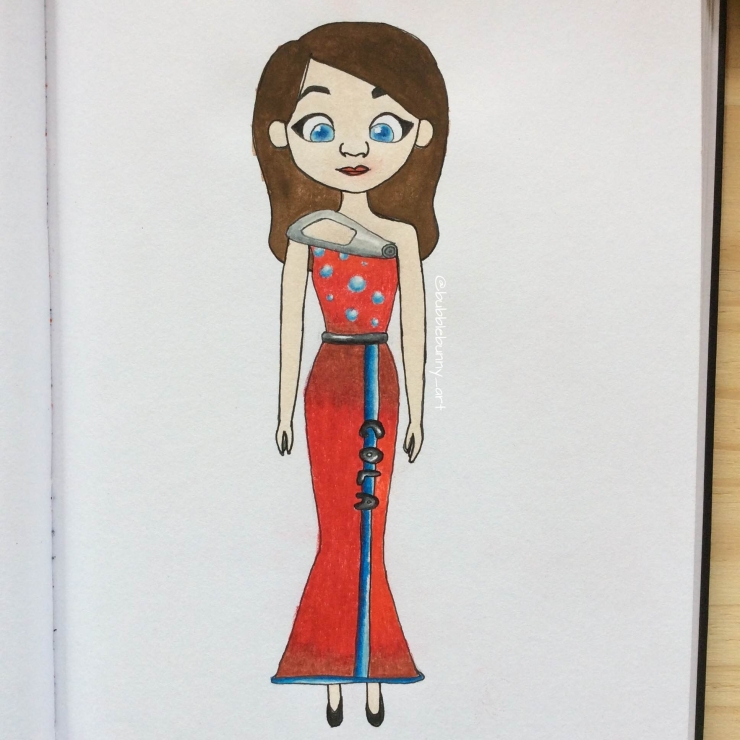
You can be a can of coke! I mean, who doesn’t like a nice refreshing can of coke after such a tiring night at a halloween party? All you need is a basic red dress, blue and grey felt stickers and if you want, the letters “coke” to be stuck on your dress.

First, cut the blue felt into different sizes of circles, then stick it on to your dress. You can do the whole dress or just the upper part like the one in the pic. Next, stick the “cola” letters on the bottom part of your dress and you’re done! Wasn’t that easy?


#2 Halloween costume idea

halloween 2015 3

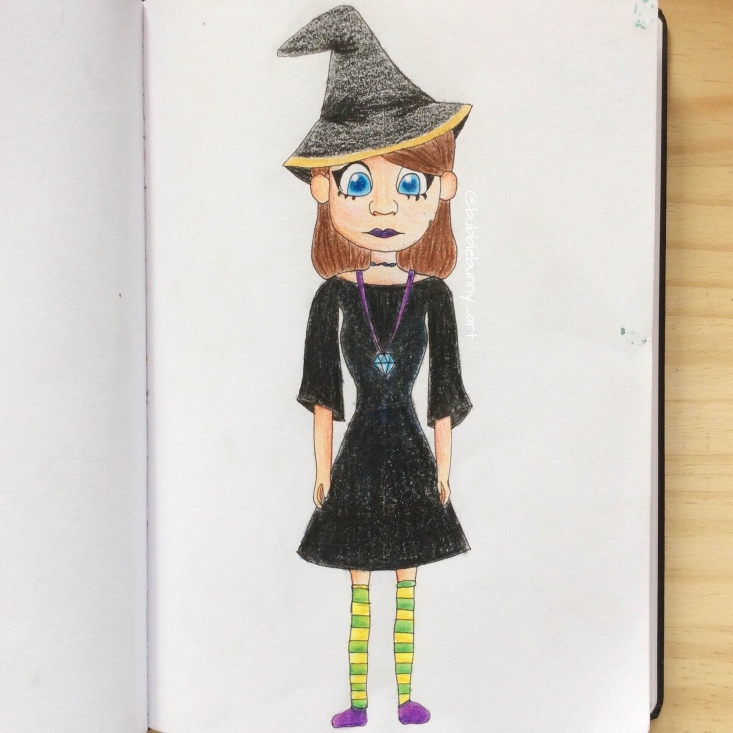
If you want a more sleek and gothic look, you can be an evil witch. Just get your black dress, crazy socks, eyeliner and dark lipstick. And voila! Your witch costume is done. If you want to look even more like a witch, you can make a witch hat out of black felt and a DIY wand.

You can watch these videos to learn how to make them:

Witch Wand

Witch Hat


#3 Halloween Costume idea

halloween 2015 2

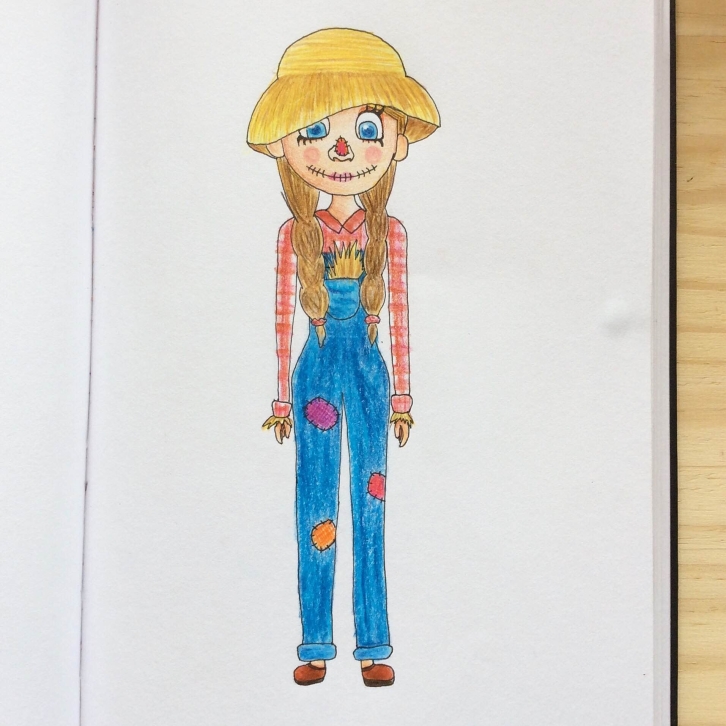
If you want, you could be a cute scarecrow too. That’s what I’m gonna be for halloween this year. All you need is a flannel, a straw hat, jeans and eyeliner. Just tuck your flannel into your jeans draw a nose on your face with a few stitches and draw some fake lashes on your lower lash line going down. And you’re done! Wanna make it a bit better? Then just sew on some patches of fabric on your jeans and flannel!

If you want a more detailed look of the makeup look for this scarecrow then you can watch this video. I am using this makeup look too, so we can be twins this halloween. 🙂

Scarecrow Makeup Tutorial


#4 Halloween Costume idea

halloween 2015

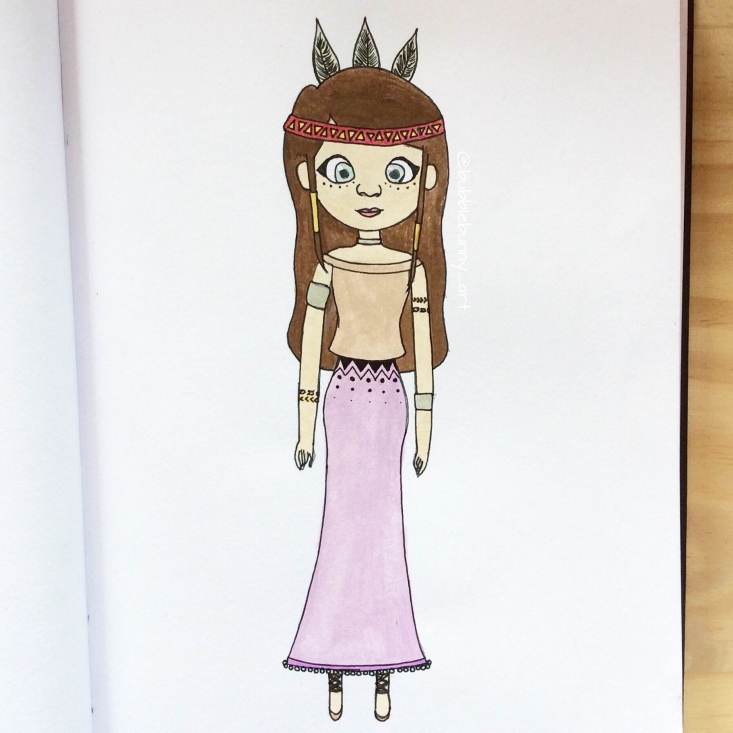
If you’re really lazy, then just be a bohemian girl. It’s cute, stylish and there is a high chance that you have all the things you need in your closet. Get a headband and stick some feathers at the back of your head using the headband to secure them. Next, you want to rummage through your dresser and closet to find all those bohemian looking clothes. Change into them, and you’re done.  If you want more inspiration on bohemian clothes you can google some images or use those handy apps like tumblr and pinterest.


Most of the clothes I mention can be easily bought at H&M, Cotton On, Urban Outfitters, Free people and all the other boutiques. So its really easy to make them.


I hope this post helped you out! Have fun trick o’ treating today!

bubblebunny05

bubblebunny05